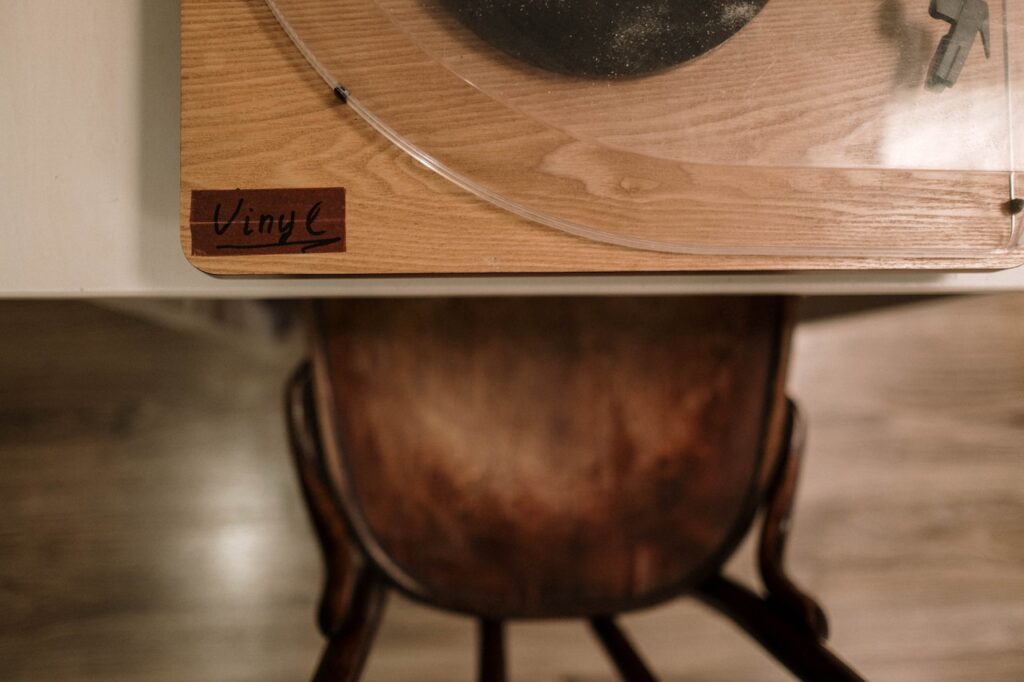
Vinyl dust covers are a popular choice for protecting equipment from dust, dirt, and debris. They offer durability, water resistance, and ease of use. To ensure optimal protection and longevity of your equipment, it’s important to know how to properly use and maintain vinyl dust covers. In this step-by-step guide, we will walk you through the process to help you make the most of your vinyl dust covers.
Step 1: Clean the Equipment
Before placing the vinyl dust cover on your equipment, ensure that it is clean and free from any dust or debris. Use a soft cloth or a duster to gently wipe the surfaces, paying attention to corners and crevices where dirt tends to accumulate. Cleaning the equipment beforehand ensures that no particles are trapped beneath the cover, preventing potential scratches or damage.
Step 2: Measure and Select the Right Size
To provide adequate coverage, it’s crucial to choose a vinyl dust cover that fits your equipment properly. Measure the dimensions of your equipment, including the width, height, and depth. Look for a dust cover that is slightly larger than your equipment to allow for a comfortable fit without being too loose. Many vinyl dust covers come in standard sizes, but custom options are also available for unique or oversized equipment.
Step 3: Position the Dust Cover
Carefully drape the vinyl dust cover over your equipment, ensuring that it fully covers the entire surface. Smooth out any wrinkles or folds for a neat appearance. If your dust cover comes with elastic bands or adjustable straps, secure them around the corners or edges of the equipment to ensure a snug fit. This prevents the dust cover from slipping off or being easily displaced.
Step 4: Store Properly When Not in Use
When you’re not using the equipment, store the vinyl dust cover properly to maintain its condition and protect it from damage. Fold the dust cover neatly or roll it up, depending on its size and your storage space. Avoid placing heavy objects on top of the folded cover, as this can lead to creases or distortion. Store the dust cover in a clean and dry area away from direct sunlight or excessive heat.
Step 5: Regular Cleaning and Maintenance
To keep your vinyl dust cover in optimal condition, regular cleaning and maintenance are necessary. Follow the manufacturer’s instructions for cleaning, as different vinyl materials may have specific requirements. In most cases, wiping the cover with a damp cloth or using a mild soap and water solution should suffice. Avoid using harsh chemicals or abrasive materials that can damage the vinyl. Allow the dust cover to air dry completely before using it again or storing it.
Step 6: Inspect for Damage
Periodically inspect your vinyl dust cover for any signs of damage, such as tears, cracks, or weakened areas. Pay attention to the seams, edges, and areas of frequent stress. If you notice any issues, consider repairing the cover or replacing it if necessary. Regular inspection ensures that the dust cover remains effective in providing optimal protection for your equipment.
Step 7: Replace When Needed
Over time, vinyl dust covers may wear out due to constant use or exposure to environmental factors. If you notice significant damage or deterioration that compromises the cover’s effectiveness, it’s important to replace it promptly. Investing in a new dust cover ensures that your equipment continues to receive the necessary protection from dust and debris.
By following this step-by-step guide, you can effectively use and maintain your vinyl dust covers, ensuring maximum protection for your equipment. Proper usage and maintenance not only keep your equipment clean and safe but also extend the lifespan of both the dust cover and the equipment it protects. With the right care, your vinyl dust covers will continue to provide reliable protection for years to come.